How to Remove Swirl Marks from Black Paint
Swirl marks on black paint are a common concern for vehicle owners who value a flawless finish. These fine scratches, often visible as cobweb-like patterns under direct light, can dull the depth and gloss of dark surfaces. Understanding their origin and the methods used to address them is essential for anyone involved in automotive detailing or paint maintenance. This article explores techniques for identifying and eliminating swirl marks on dark vehicles, with an emphasis on dual-action polishers and fine compounds.
The process of removing swirl marks requires a methodical approach that balances abrasive action with surface preservation. Black paint, in particular, tends to highlight imperfections because it reflects light more intensely than lighter colors. Therefore, the techniques discussed here prioritize careful assessment, controlled polishing, and incremental refinement. While the goal is to improve clarity and gloss, the outcome depends on various factors, including paint condition, environmental conditions, and the skill of the operator.
This guide is intended for informational purposes only. It outlines general principles and steps that may be adapted to specific situations. No method guarantees a perfect result, and the information provided should not replace professional judgment or hands-on training. Readers are encouraged to consider their unique circumstances and proceed with caution.
Understanding Swirl Marks on Black Paint
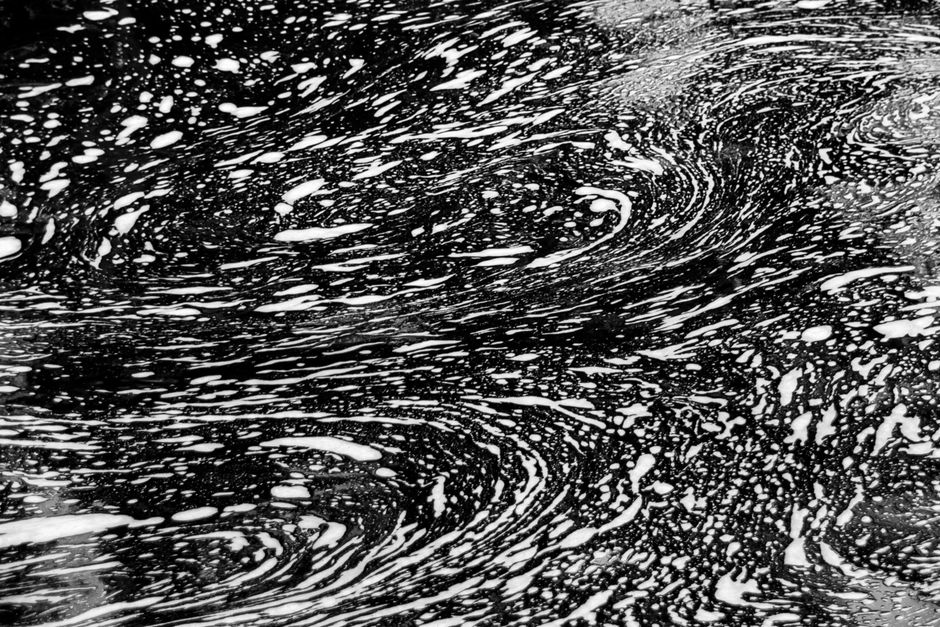
Swirl marks are micro-scratches that form a circular or spider-web pattern on the surface of automotive paint. They are typically caused by improper washing, drying, or polishing techniques that introduce abrasives or grit to the paint. On black paint, these marks are especially noticeable because the dark background contrasts sharply with the light reflected off the edges of the scratches. This contrast makes even faint swirls appear more pronounced, leading to a dull or hazy appearance.
Identifying swirl marks requires proper lighting. Direct sunlight or a high-intensity LED inspection light can reveal their presence. It is helpful to view the paint from multiple angles and distances. Swirl marks often appear as fine lines that radiate from a central point or as random arcs. In some cases, they may be accompanied by other defects such as water spots, oxidation, or deeper scratches. Distinguishing between these issues is important because the removal approach may differ.
The severity of swirl marks can vary. Light swirls may be addressed with a single-step polish, while moderate to severe cases might require multiple stages. The paint type and thickness also play a role. Modern clear coats are typically engineered to withstand some abrasion, but excessive polishing can compromise the protective layer. Therefore, a conservative approach that starts with the least aggressive method is generally recommended.
Tools and Materials for Swirl Removal
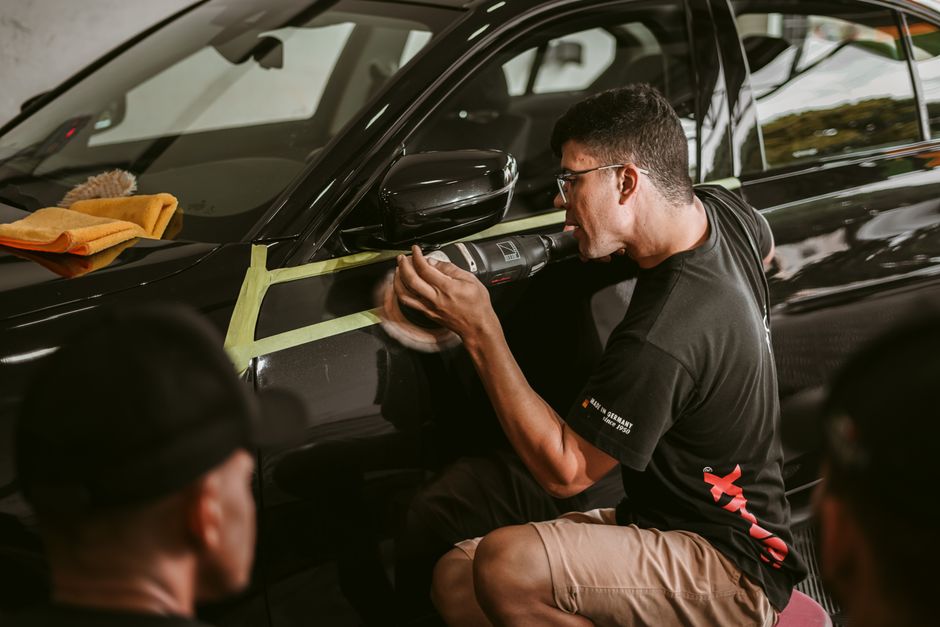
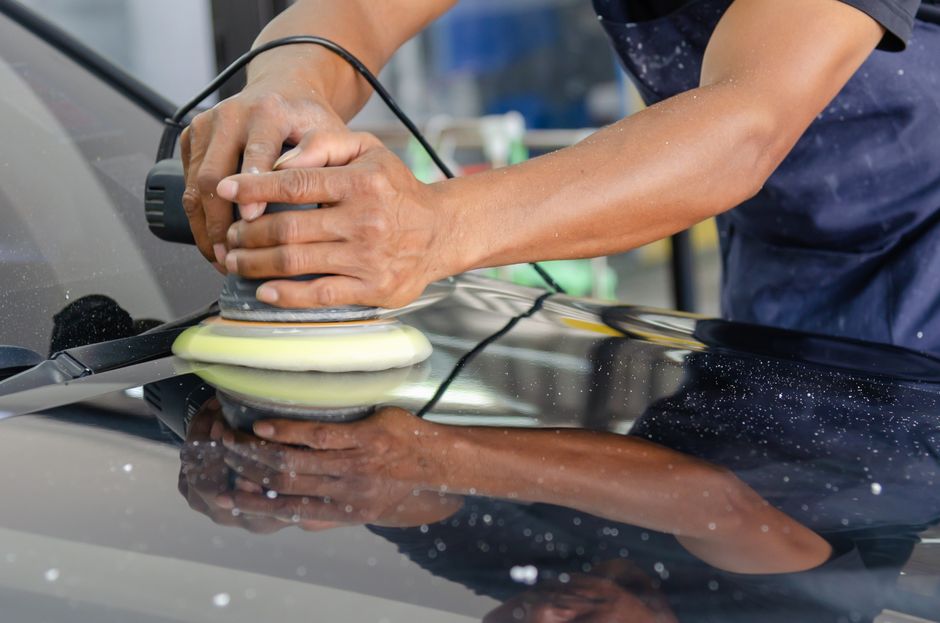
Removing swirl marks effectively involves a combination of mechanical action and chemical assistance. A dual-action (DA) polisher is a popular tool for this task because it combines rotational and oscillating movements, reducing the risk of creating new scratches compared to a rotary polisher. DA polishers are available in various sizes and power ratings, and the choice depends on the area to be corrected and the user’s experience level.
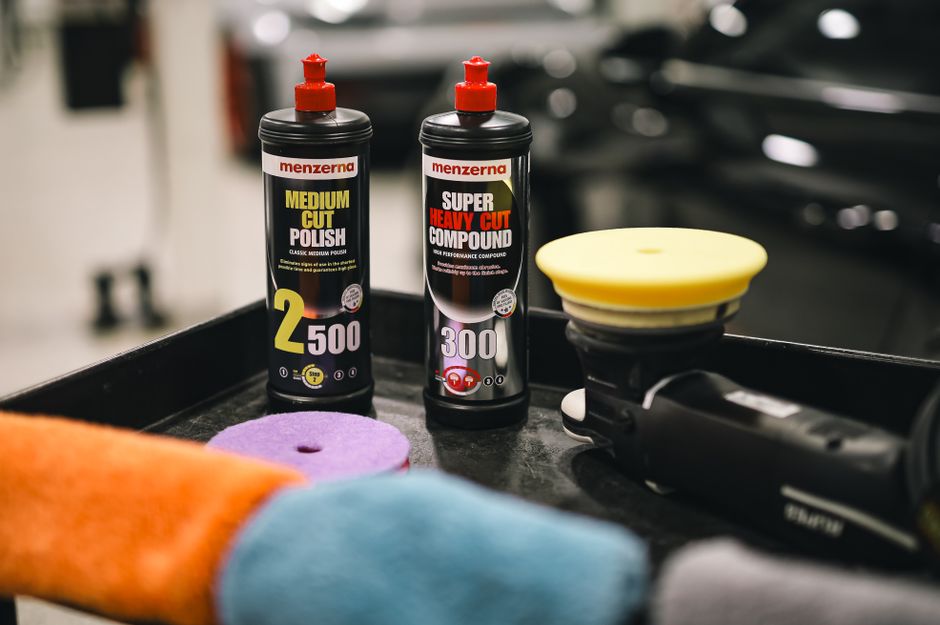
Fine compounds, also known as finishing polishes, are designed to remove light defects while leaving a high-gloss finish. They contain microscopic abrasives that gradually break down during polishing, allowing for a controlled cut. When selecting a compound, consider its abrasive technology and compatibility with the chosen pad. Foam pads are commonly used for finishing, while microfiber pads may offer more cutting power. It is advisable to have a range of pads and polishes on hand to test different combinations.
Other essential items include clean microfiber towels, a pad conditioning brush, and a paint depth gauge if available. Proper lighting, such as a dual-action inspection light or a handheld LED, is crucial for evaluating progress. Additionally, masking tape can be used to protect trim and edges. Personal protective equipment, including gloves and eye protection, should be worn to minimize exposure to chemicals and dust.
Step-by-Step Process for Eliminating Swirl Marks
The following steps outline a general process for removing swirl marks using a dual-action polisher and fine compound. Keep in mind that every vehicle is different, and adjustments may be necessary based on paint response and environmental conditions.
- Preparation: Wash the vehicle thoroughly to remove loose dirt and contaminants. Consider using a clay bar to remove bonded particles. Dry the surface with a clean microfiber towel. Work in a shaded, well-ventilated area to prevent the polish from drying too quickly.
- Test Area: Choose a small, inconspicuous section to test the chosen polish and pad combination. This helps gauge the aggressiveness needed and prevents unnecessary damage. Apply a small amount of polish to the pad and spread it over the test area with the polisher turned off.
- Polishing: Set the polisher to a moderate speed, typically between 3 and 5 on a DA polisher. Move the polisher in overlapping passes, using light to moderate pressure. Keep the pad flat against the surface and do not overwork the polish. Work in small sections, about 2×2 feet, to maintain control.
- Inspection: After a few passes, wipe away the residue with a clean microfiber towel and inspect the area under proper lighting. If swirl marks persist, repeat the process with slightly more pressure or a more aggressive pad. If the finish looks hazy, a finer polish may be needed.
- Refinement: Once the desired level of correction is achieved, switch to a finishing pad and a fine polish to maximize gloss. This step removes any micro-marring introduced during the cutting stage.
- Protection: After polishing, apply a wax, sealant, or ceramic coating to protect the paint and enhance its appearance. This step also makes future maintenance easier.
Throughout the process, it is important to clean the pad regularly to prevent buildup of dried polish and removed paint. A pad conditioning brush can be used to gently remove residue. Changing pads when they become saturated is also recommended. Always work in a controlled environment and avoid polishing in direct sunlight or on hot surfaces.
Techniques and Best Practices
Successful swirl removal relies on consistent technique and attention to detail. One key practice is to maintain a slow, steady arm speed—about 1 inch per second—to allow the abrasives to work effectively. Applying too much pressure can generate heat and cause damage, while too little pressure may not remove defects. Let the polisher do the work and use the weight of the machine as a guide.
Another important aspect is pad selection. For light swirl removal, a soft foam finishing pad paired with a fine polish is often sufficient. For moderate defects, a medium-cutting pad and a corresponding polish may be needed. Always start with the least aggressive combination and escalate only if necessary. This approach preserves clear coat thickness and reduces the risk of thinning the paint.
Environmental factors also play a role. Polishing in a cool, shaded area prevents the polish from drying too quickly and allows for longer working times. Humidity can affect how a polish behaves, so it may be necessary to adjust the amount of product or the number of passes. Additionally, clean microfiber towels should be used for wiping off residue to avoid reintroducing scratches.
Regular inspection under different light sources is essential. What looks good under one light may show flaws under another. Use a combination of ambient light and focused LED lights to evaluate the finish from multiple angles. If defects remain, assess whether a different pad or polish is needed, or if the issue is deeper than initially thought.
Common Challenges and Considerations
Removing swirl marks from black paint can present several challenges. One common issue is the presence of deeper scratches that are not removed by fine polishing alone. In such cases, a more aggressive compound or a two-step process may be required. However, this increases the risk of removing too much clear coat, so it should be done with caution and preferably by a professional.
Another challenge is the potential for holograms or buffer trails, which are patterns left by the polishing process. These are more likely to occur with rotary polishers but can also happen with DA polishers if the technique is inconsistent. Using a fine polish and a soft pad, along with reducing the polisher speed, can help minimize this risk. It is also important to avoid overworking the polish, as this can lead to a dry buff and marring.
Black paint can also show micromarring from towels or applicators. Using high-quality, clean microfiber towels and careful wiping techniques can reduce this risk. If micromarring occurs, a final pass with a finishing polish and a clean pad may be necessary to restore clarity.
Finally, it is important to recognize that paint correction is a skill that develops over time. Practice on a test panel or a less visible area can help build confidence and refine technique. The information provided here is a general guide, and individual results may vary based on paint type, condition, and the specific products used.
“Patience and a methodical approach are often more valuable than aggressive action when working with black paint.”
In conclusion, eliminating swirl marks from black paint involves a combination of proper identification, appropriate tools, and careful technique. Dual-action polishers and fine compounds are effective tools when used correctly, but they require an understanding of the paint system and a willingness to adapt. By following a structured process and paying attention to detail, it is possible to enhance the appearance of dark vehicles. For those seeking professional assistance, Prime Detail offers services that can address these concerns with expertise and precision.